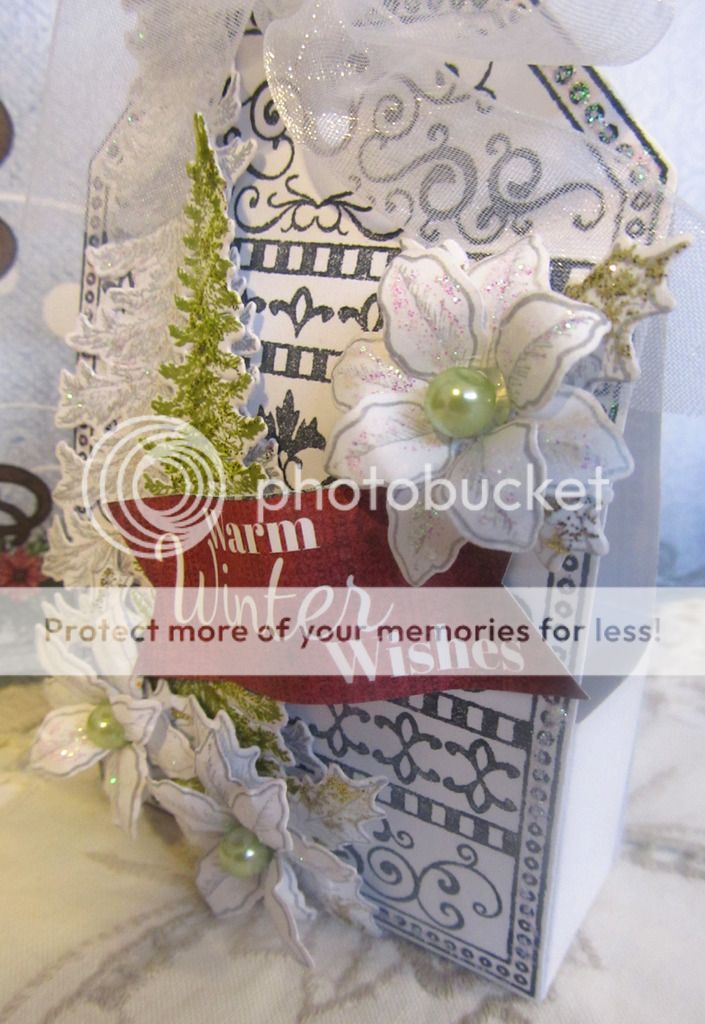
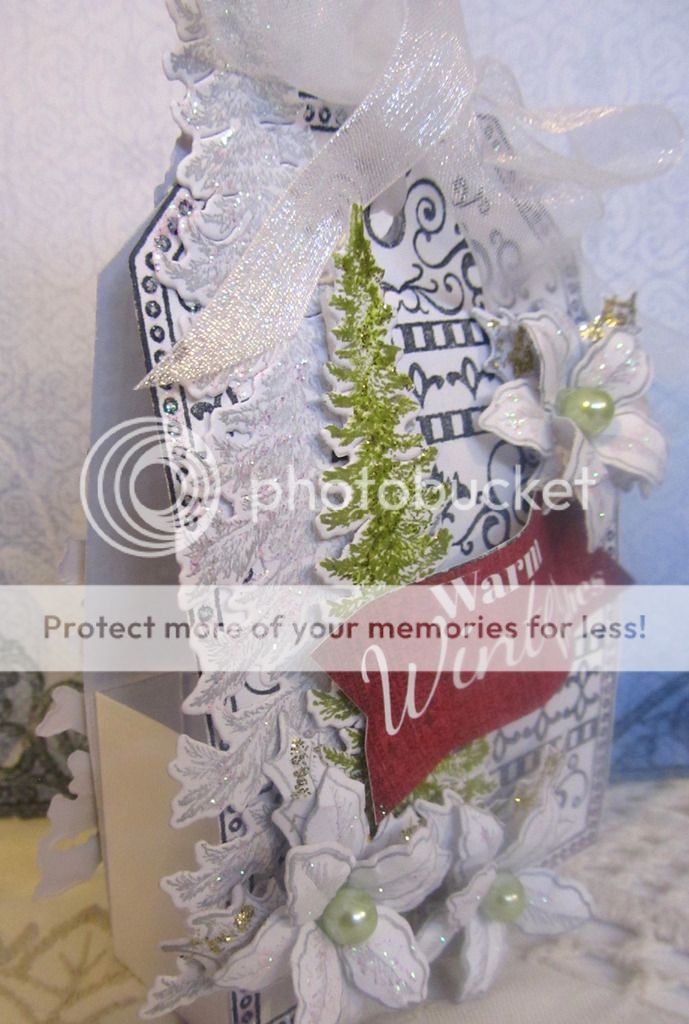
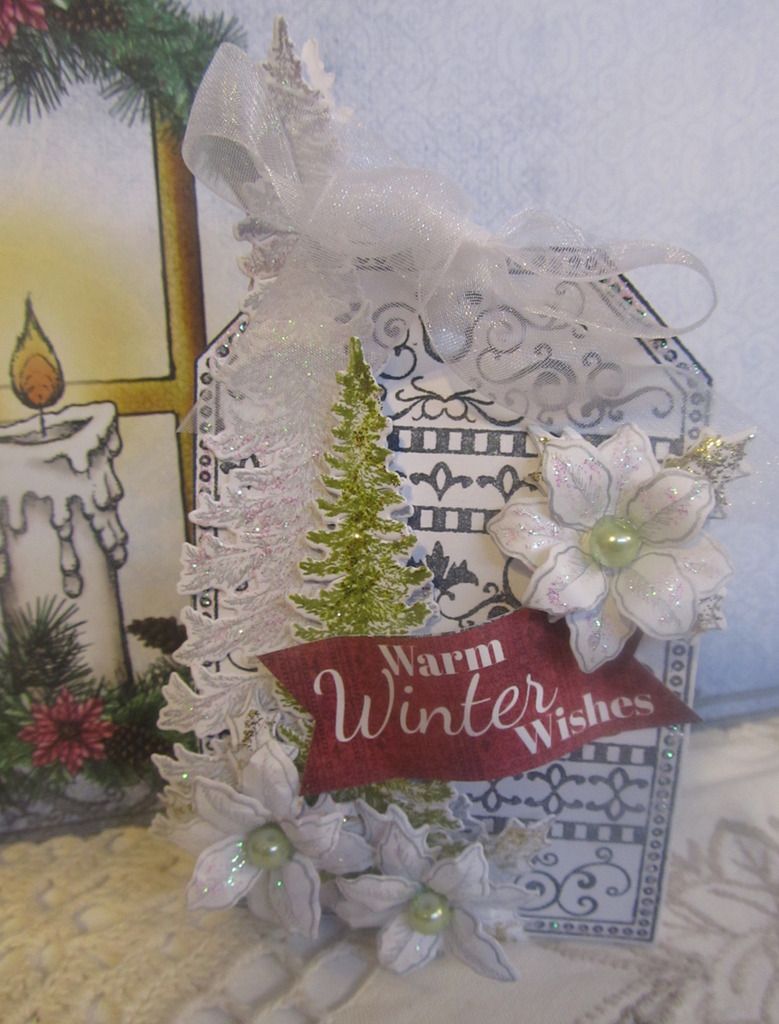
Hello! Things are moving right along here, after making so many Christmas items, I'm starting to thinks it's time to start purchasing gifts!! lol kinda pushed summer along huh? This time, I made a cute little box that was so easy to make you guys are gonna love it. You can make this in minutes and it would be so ideal to hand on the tree, fill with with some Hershey's kisses or drop a gift card in it. Let me show you so pictures... I will also have a video for this project...

Snow Kissed paper Collection
HCD1-7106 Die
HCPC-3747 Celebrate the season Cling Stamp
HCPC-3751 Snow Kissed Flakes and Tags
HCD1-7018 Die
HCPC-3749 Snow Kisses Spruce Cling Stamp
HCD1-7107 Die
HCD1-7109 Die [Box]
Other products used: Color Box Pigment Stamp pad "silver", Tim Holtz "Peeled Paint", Sheer Ribon 22". Stickles "Gold and Crystal" 3 glass beads
White card stock, Memento Tuxedo dye.

Cut the inside box using the HCD1-709 die, score it and put it together.
Stamp and die cut two of the tags and adhere one to each side of the box. I left mine black and white and later added some Stickles to the edges.
Stamp enough Poinsettias to make 3 flowers, using the Silver stamp pad, and then die cut them. Put the flowers together, Stickles them and set aside to dry.
Stamp 2 of the big Spruce trees with the Silver stamp pad and 2 smaller trees with distress ink pad, "Peeled Paint" and die cut all four.
Cut one of sentiments from the paper collection.
Now, adhere the trees, the sentiment and the flowers to the front of the box. Use the sheer ribbon to tie a bow at the top of the tags and Stickles the trees.

You're done, great boxes to put candy or a gift card.
Enjoy!
As always...Thanks for visiting and


You have truly made a beautiful piece. The icy look is wonderful!
ReplyDeleteSo pretty!!!
ReplyDeleteSo pretty!!
ReplyDeleteLovely xx
ReplyDeleteGorgeous!
ReplyDeleteElsa, I just love your adorable treat box. You put so much detail in it and I love the flowers and how you incorporated the tag into the design. So inspiring!
ReplyDeleteHugs, Marie