It's Wednesday! and know what that means?? It's Heartfelt design project day!
Wanna thank you all again for the sweet comments...and hope you have been super inspired. I have been in slump lately, too much to do to little time to do it in, but having a project due every week is sure helping me get out of this mojo loss. What is your excuse for not creating? How do you find creative motivation? What is your crafting muse? Tell me, I'd like to know, maybe you can help me start making YouTube videos again! lol
Ok then...for this weeks project I made a card... you will find the instructions and supplies used below.
Products Used:
HCD1-743 RainDrops on Roses Die
HCPC-3474 Heartfelt Expressions "Have a Beautiful Day"
HCPC-3651 Cling Stamp Botanical Rose
HCD1-758 Botanical Wings Die
HCD1-736 Classic Leaf Die
HCPC-3545 Open Leaf Die
HCPC-3546 Classic Leaf Cling Stamp
HCD1-747 Arrianna Lace (used inside the Card)
 Other products:black, white and cream card stock, Memento dye ink pad in Tuxedo Black. (used for all the stamped images), ek success paper punch, 6 glass beads, Martha Steward glittered glue in Limeade and Cotton Candy, spellbinder S6-004 Detailed Scallops die, 1 golden butterfly button, Tim Holtz distressed inks in Spun Sugar, Forest Moss, Victorian Velvet, Scattered Straw.
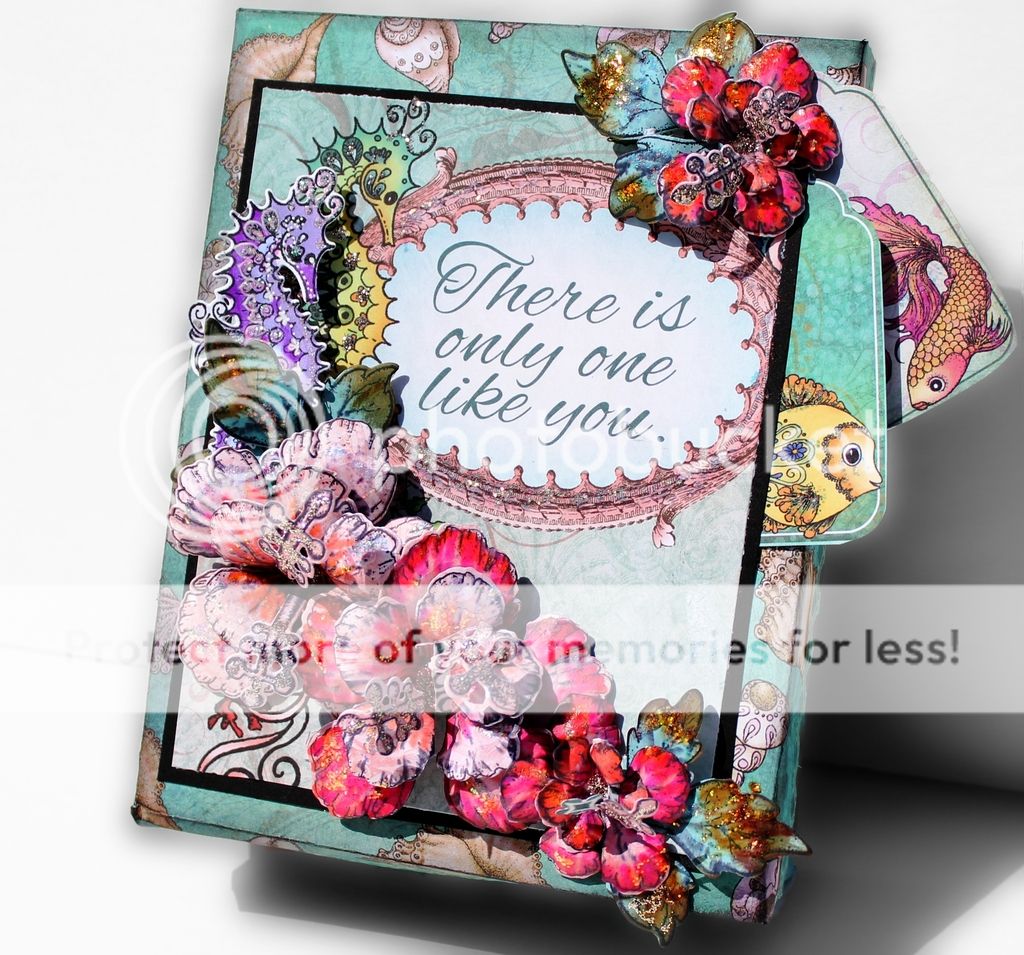
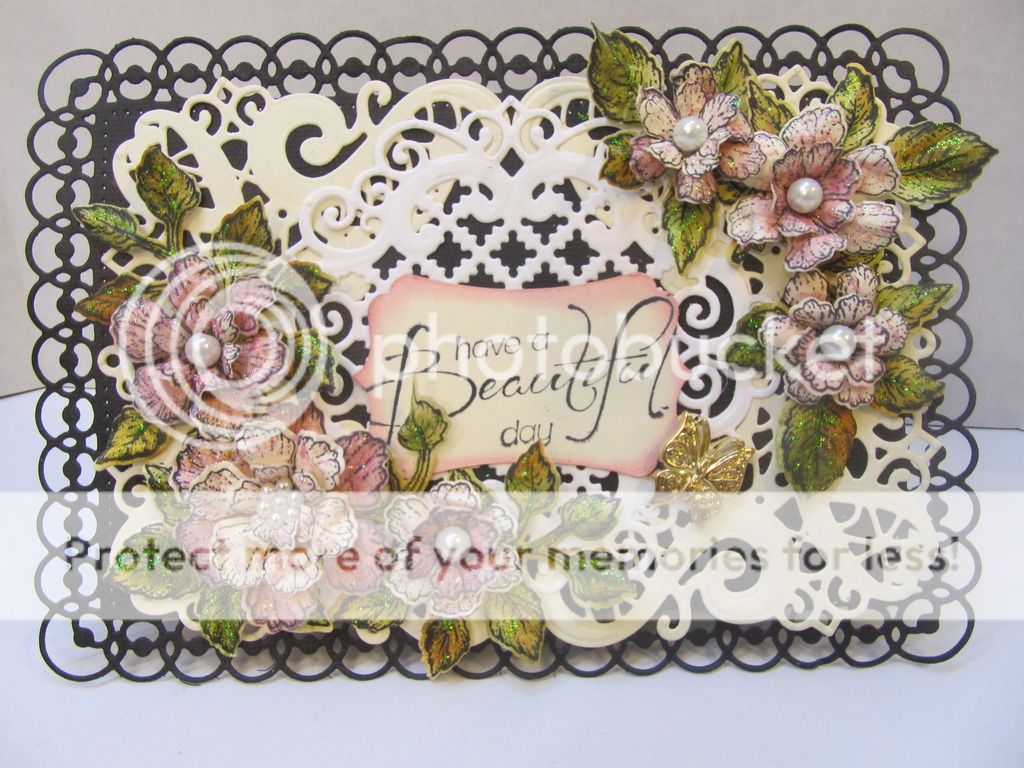
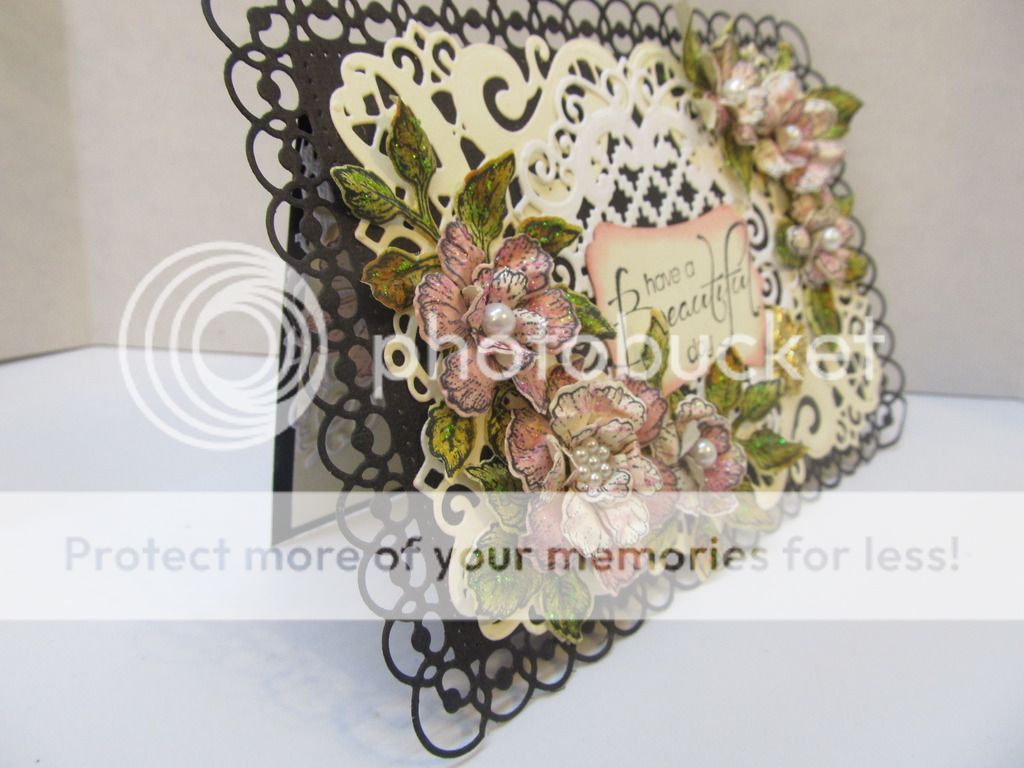
Fold a piece of 5.5" X 7" black card stock in half ... this creates your card base. Using the Spellbinder mentioned above and use the bigger of the dies in the set. This will be the face of the card.
 From the RainDrops rose die, cut a pair of intricate hearts nestled amidst elegant swirls from the cream card stock and 1 of the delicate lattice work doily from a piece of white card stock... adhere the cream die cuts on either side of the black card face. Now, over this, layer the white lattice work doily in the center of the card.
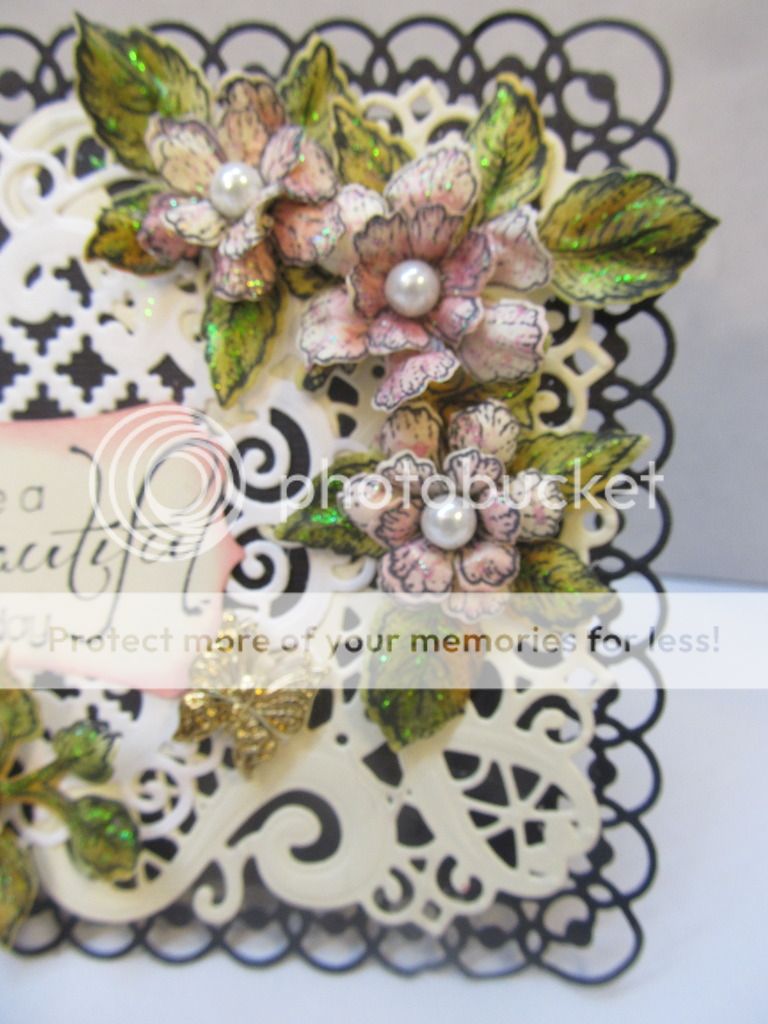
Now, for flower making. Stamp, color and die cut the flowers, layer as many petals as you see fit, I used two petals per flower to give them some texture. The leafs cut as many as you think you will need. I like my project with lots of green so I used 5 sets of the leaf branches.
Stamp the sentiment on cream card stock and punch it out using the ek Success paper punch, "Journal Plate." With the distressed inks in Spun Sugar, shade the edges.
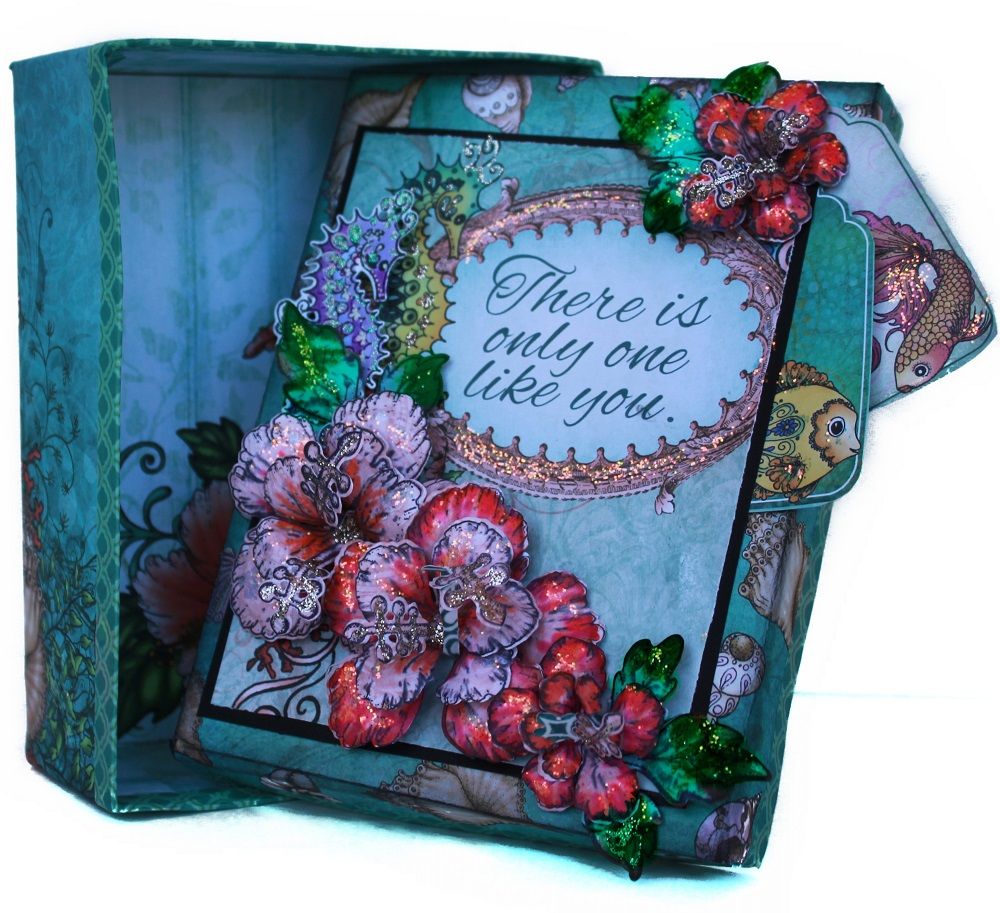
Arrange the flowers on the card arranging them on bottom and top corners of the card and tuck the sentiment in the center of the card, among the flowers.
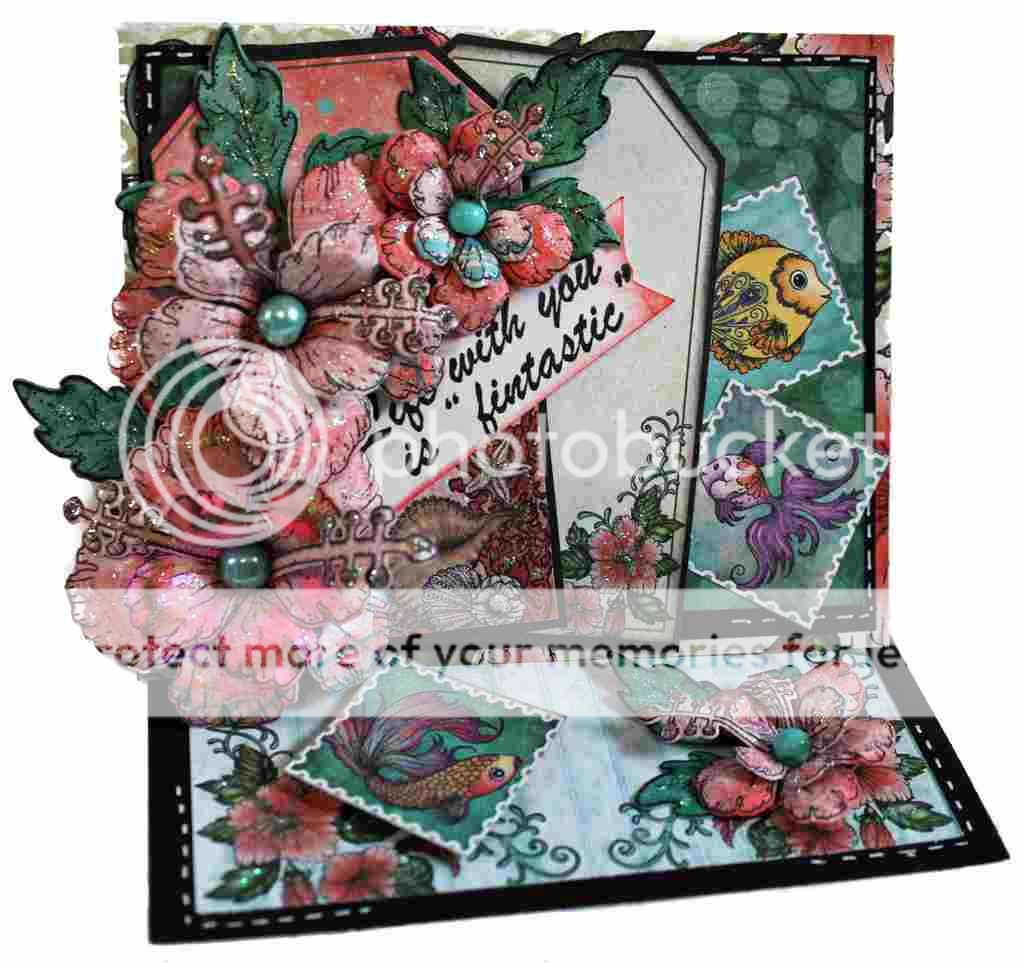
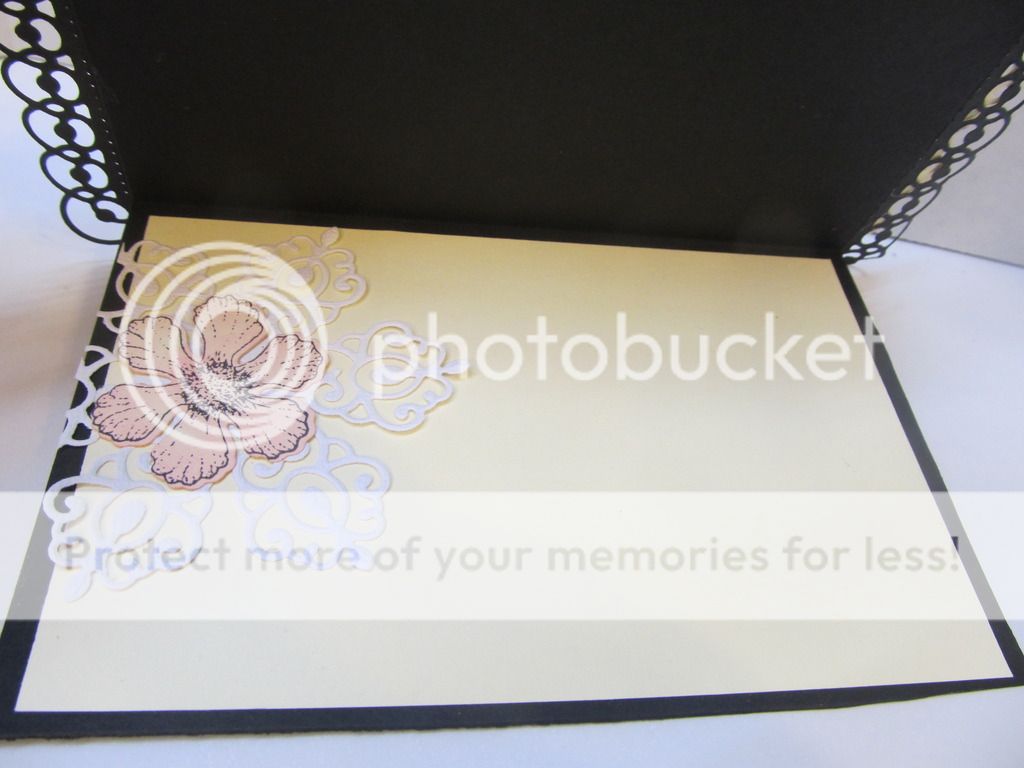 For the inside of the card with the cream card stock cut a 3 1/4" X 5 1/4" piece and adhere to the inside of the card. Use the Arrianna Lace die cut and a layer over it one of the flower petals. Keep it simple and flat and leave enough space to write a little something special later on.
This is the inside of the card... pretty simple eh?
What you think? Thank you so much for visiting...
and if you have a minute hope on over to the Heartfelt Blog
and check out the amazing talent!!
(It truly humbles me!)
I hope you all enjoy the rest of the week...
take care and as always...

Wanna thank you all again for the sweet comments...and hope you have been super inspired. I have been in slump lately, too much to do to little time to do it in, but having a project due every week is sure helping me get out of this mojo loss. What is your excuse for not creating? How do you find creative motivation? What is your crafting muse? Tell me, I'd like to know, maybe you can help me start making YouTube videos again! lol
Ok then...for this weeks project I made a card... you will find the instructions and supplies used below.
Products Used:
HCD1-743 RainDrops on Roses Die
HCPC-3474 Heartfelt Expressions "Have a Beautiful Day"
HCPC-3651 Cling Stamp Botanical Rose
HCD1-758 Botanical Wings Die
HCD1-736 Classic Leaf Die
HCPC-3545 Open Leaf Die
HCPC-3546 Classic Leaf Cling Stamp
HCD1-747 Arrianna Lace (used inside the Card)
Other products:black, white and cream card stock, Memento dye ink pad in Tuxedo Black. (used for all the stamped images), ek success paper punch, 6 glass beads, Martha Steward glittered glue in Limeade and Cotton Candy, spellbinder S6-004 Detailed Scallops die, 1 golden butterfly button, Tim Holtz distressed inks in Spun Sugar, Forest Moss, Victorian Velvet, Scattered Straw.Fold a piece of 5.5" X 7" black card stock in half ... this creates your card base. Using the Spellbinder mentioned above and use the bigger of the dies in the set. This will be the face of the card.
From the RainDrops rose die, cut a pair of intricate hearts nestled amidst elegant swirls from the cream card stock and 1 of the delicate lattice work doily from a piece of white card stock... adhere the cream die cuts on either side of the black card face. Now, over this, layer the white lattice work doily in the center of the card.Now, for flower making. Stamp, color and die cut the flowers, layer as many petals as you see fit, I used two petals per flower to give them some texture. The leafs cut as many as you think you will need. I like my project with lots of green so I used 5 sets of the leaf branches.
Stamp the sentiment on cream card stock and punch it out using the ek Success paper punch, "Journal Plate." With the distressed inks in Spun Sugar, shade the edges.
Arrange the flowers on the card arranging them on bottom and top corners of the card and tuck the sentiment in the center of the card, among the flowers.