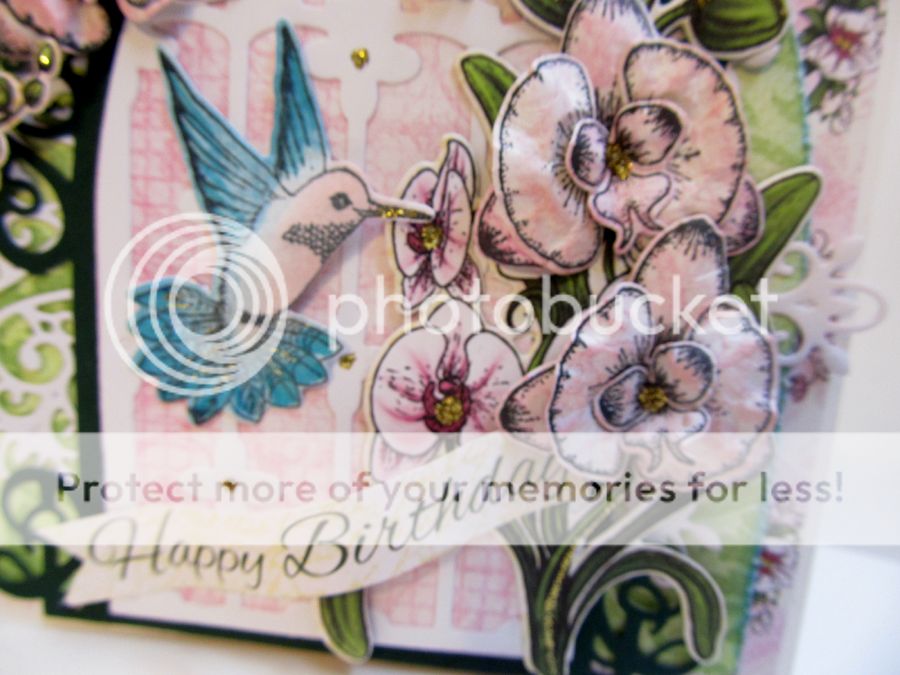
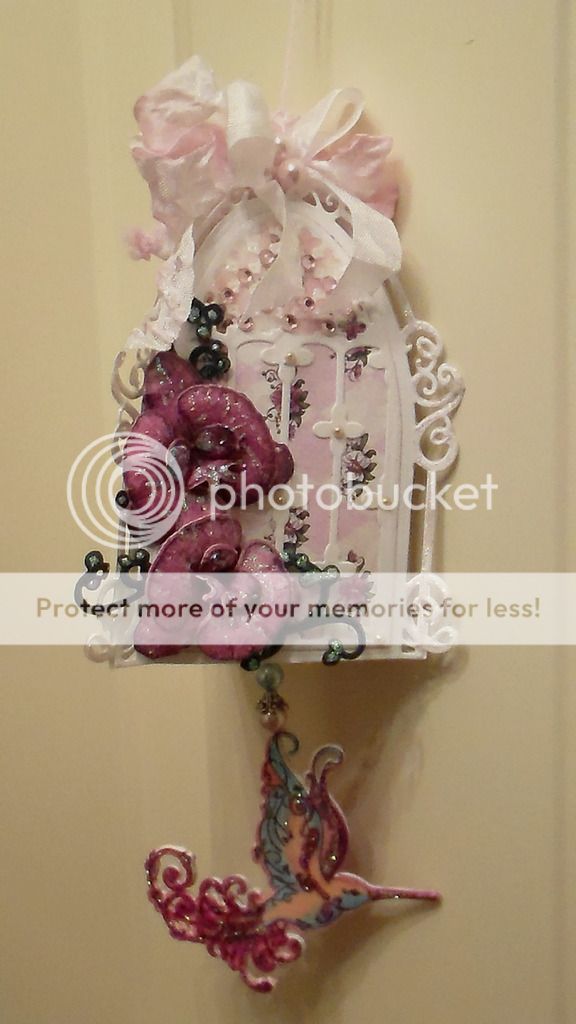
Wednesday...means what? If you said Heartfelt day, you are right!! I am still working with the botanical papers...another card with some really cute humming birds...what you think? Used some recollections bling this time.

Products Used:
HCD1-7101 Botanic Orchid Die
HCD1-7103 Botanic Orchid Bouquet Die
HCPC-3743 Botanic Orchid Bouquet Cling Stamp
HCPC-3741 Botanic Orchid Cling Stamp
Designer Paper "Botanic Orchid"
Other products: Spellbinders Nestabilities Majesetic Labels Twenty-Five, Stickles, pink and white card stock, flat back pink rhinstones, Recollections bling, foam tape
Cut the pink card stock 4x12 and fold in half, this makes your card base 4x6. Round all the corners with a corner punch.
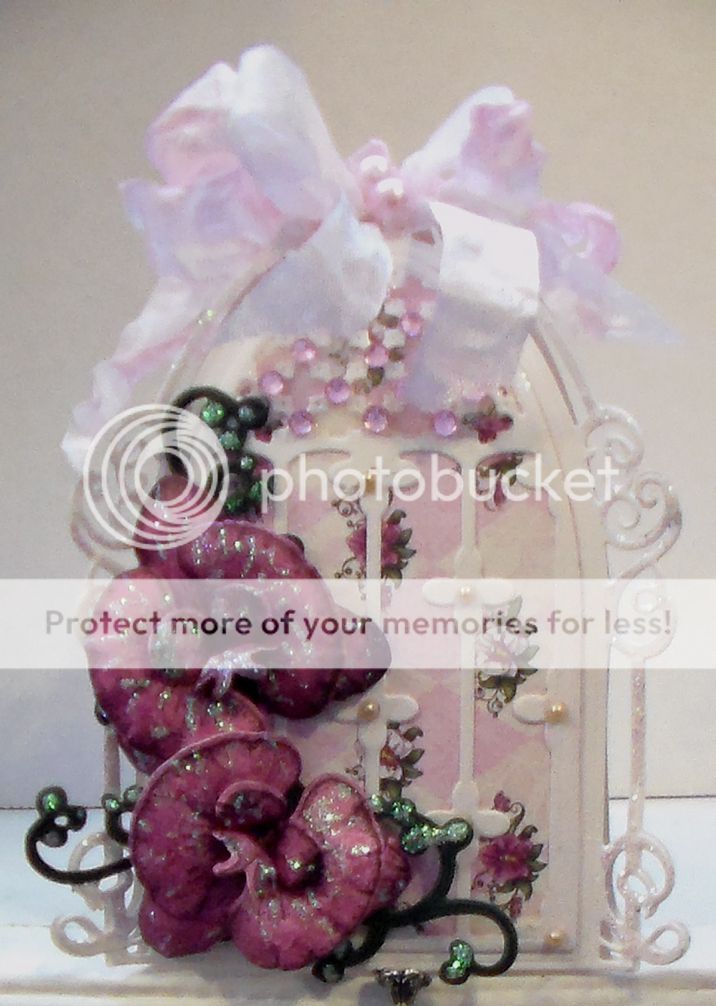
With the cling stamp set mentioned above, stamp the bouquet image, color it in with your markers of choice, I used Copic Markers in shades of pink and green for the leaves. I used stickles to make it sparkle and set it aside for it to dry.
 *Move on to the Spellbinders Nestabilities die and cut the first 2 of the biggest die, you will use the 6 x 3 3/4 for your card.
Next from a piece of Heartfelt designer paper, cut the next size of the die which will give you a solid piece with a little touch of color.
*At this time also stamp, color and die cut 2 sets of the Hibiscus flowers, I used the smallest flowers of the set. Put these flower together, and add a little stickles to make them sparkle.
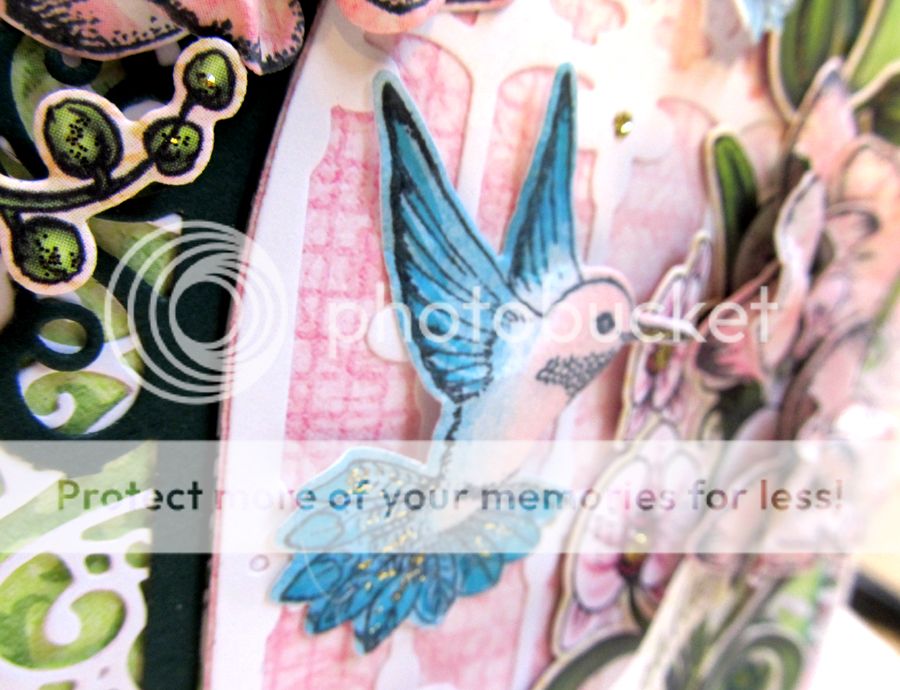
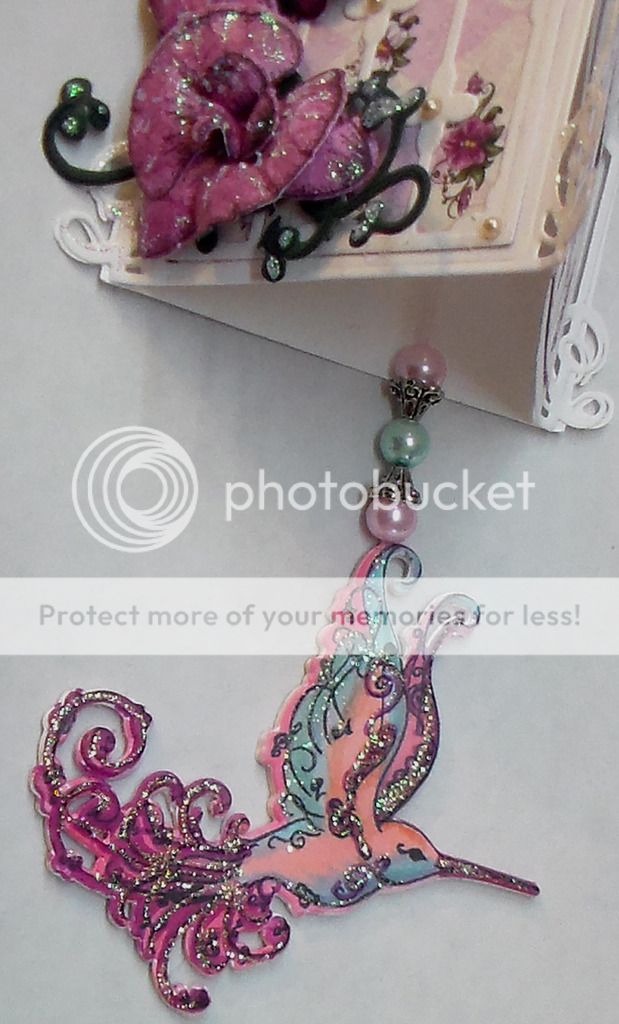
*Stamp, color and die cut the tiny humming bird boarder and one of the sitting humming boards.
*On white card stock stamp the sentiment "Thinking of You" and cut it 2 1/2 x 1 1/2 and layer it on a piece of pink card stock 1/4 inch bigger. (set aside)
*Now, cut a piece of designer paper 3 3/4 X 5 3/4 and round the edges.
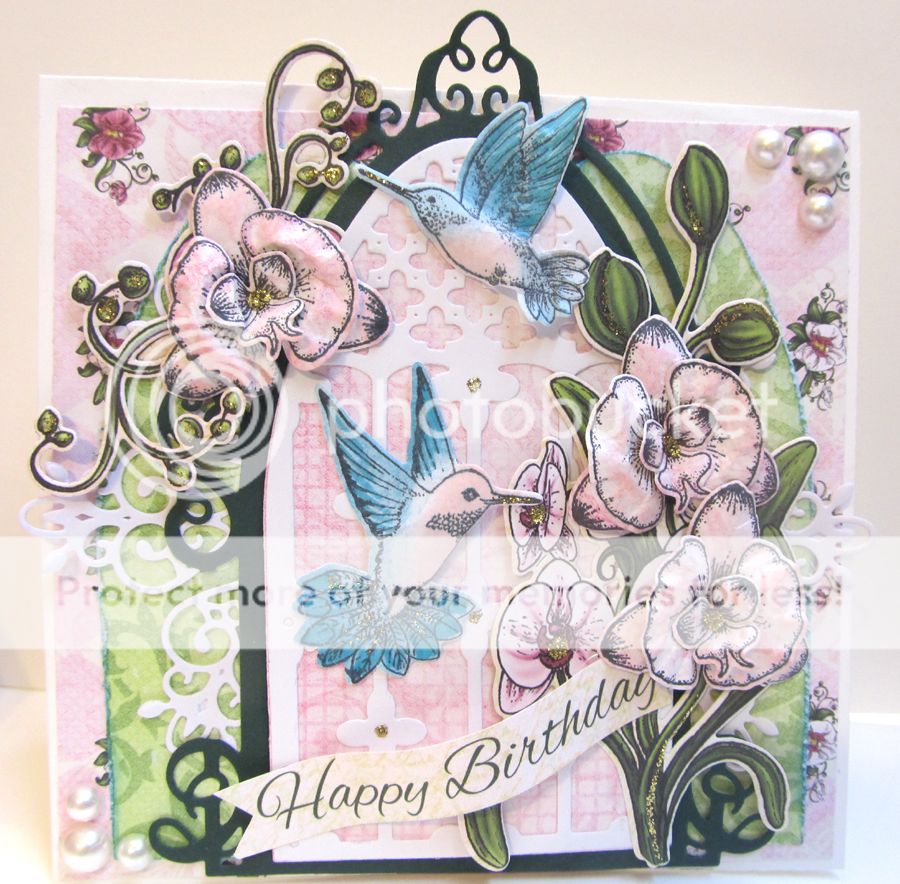
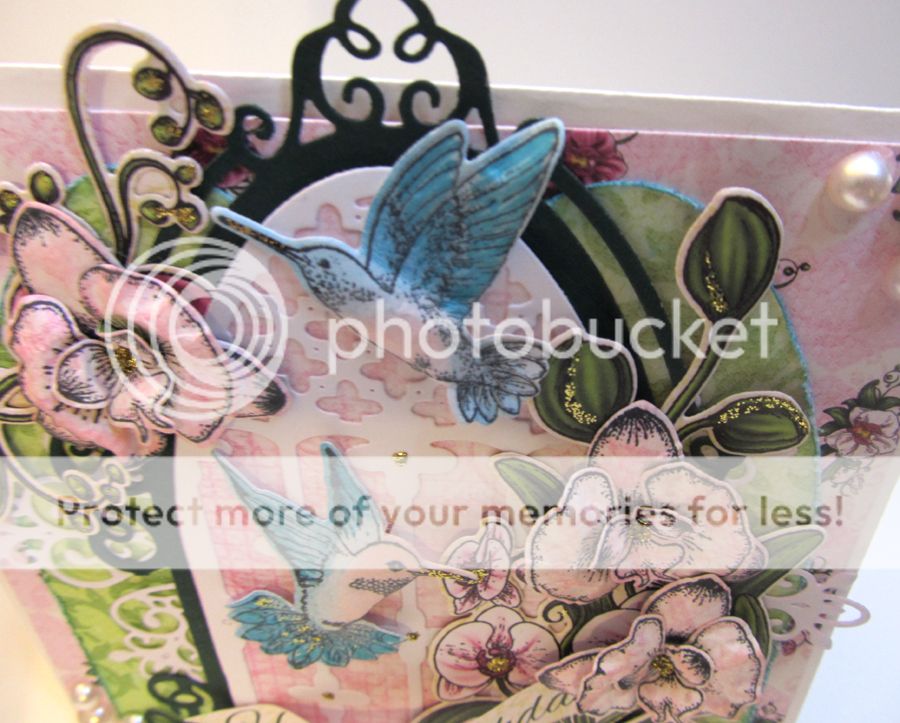
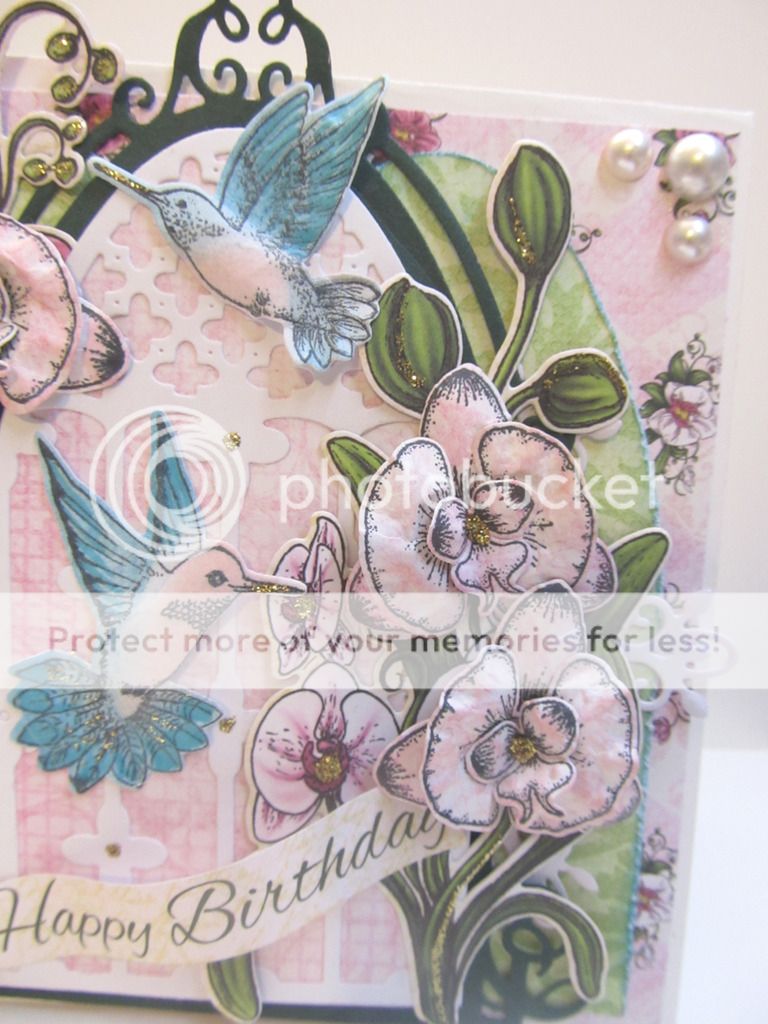
 Now to start layering all the piece of paper on the card base, first the designer cut piece of paper, then the Nestabilites die cut pieces but before you adhere the last layer use foam tape, to give it a bit of heighth and dimension. Next adhere the stamped bouquet in the center of the card and on it, adhere the 2 orchid flowers previously die cut. Add some bling bling around the bouquet and the cute little humming birds.
*At the base right beneath the last flower, tuck in the sentiment and add the sitting humming bird and some pink flat back rhinstones to the upper corners of the card and inside each Orchid flower.
|to the left bottom corner.
That's it, you're done!


Products Used:
HCD1-7101 Botanic Orchid Die
HCD1-7103 Botanic Orchid Bouquet Die
HCPC-3743 Botanic Orchid Bouquet Cling Stamp
HCPC-3741 Botanic Orchid Cling Stamp
Designer Paper "Botanic Orchid"
Other products: Spellbinders Nestabilities Majesetic Labels Twenty-Five, Stickles, pink and white card stock, flat back pink rhinstones, Recollections bling, foam tape
Cut the pink card stock 4x12 and fold in half, this makes your card base 4x6. Round all the corners with a corner punch.
With the cling stamp set mentioned above, stamp the bouquet image, color it in with your markers of choice, I used Copic Markers in shades of pink and green for the leaves. I used stickles to make it sparkle and set it aside for it to dry.
 *Move on to the Spellbinders Nestabilities die and cut the first 2 of the biggest die, you will use the 6 x 3 3/4 for your card.
Next from a piece of Heartfelt designer paper, cut the next size of the die which will give you a solid piece with a little touch of color.
*At this time also stamp, color and die cut 2 sets of the Hibiscus flowers, I used the smallest flowers of the set. Put these flower together, and add a little stickles to make them sparkle.
*Stamp, color and die cut the tiny humming bird boarder and one of the sitting humming boards.
*On white card stock stamp the sentiment "Thinking of You" and cut it 2 1/2 x 1 1/2 and layer it on a piece of pink card stock 1/4 inch bigger. (set aside)
*Now, cut a piece of designer paper 3 3/4 X 5 3/4 and round the edges.
 Now to start layering all the piece of paper on the card base, first the designer cut piece of paper, then the Nestabilites die cut pieces but before you adhere the last layer use foam tape, to give it a bit of heighth and dimension. Next adhere the stamped bouquet in the center of the card and on it, adhere the 2 orchid flowers previously die cut. Add some bling bling around the bouquet and the cute little humming birds.
*At the base right beneath the last flower, tuck in the sentiment and add the sitting humming bird and some pink flat back rhinstones to the upper corners of the card and inside each Orchid flower.
|to the left bottom corner.
That's it, you're done!
Thanks so much for stopping by
and as always...
Enjoy your crafty time...


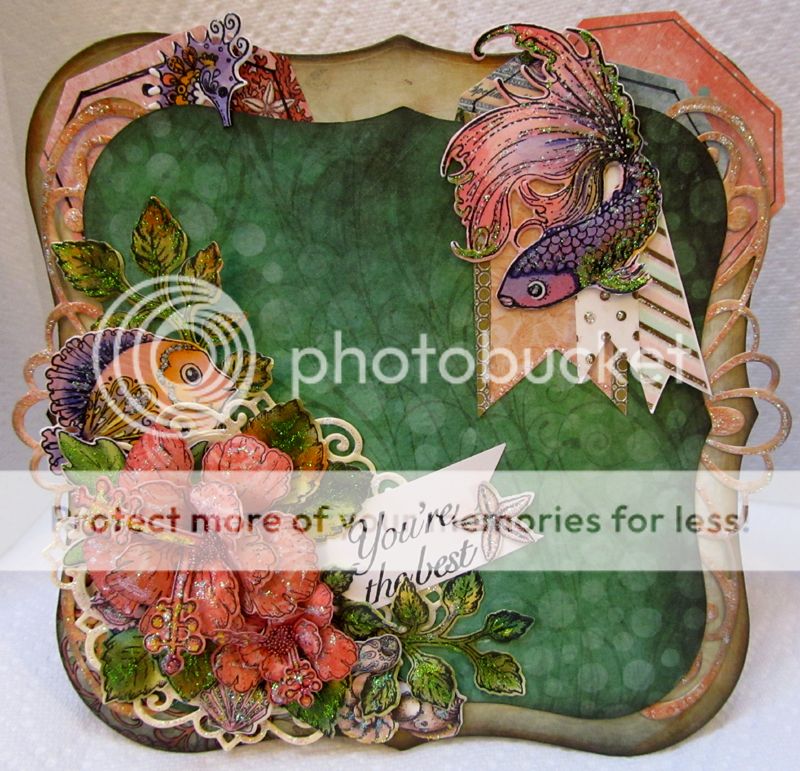
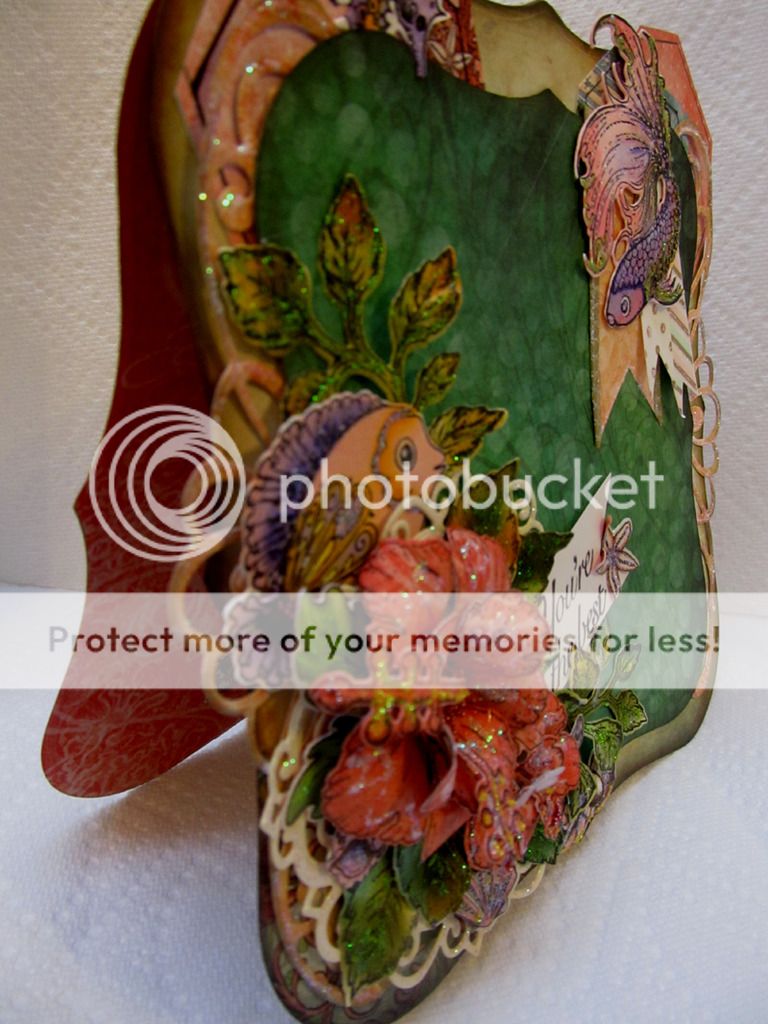
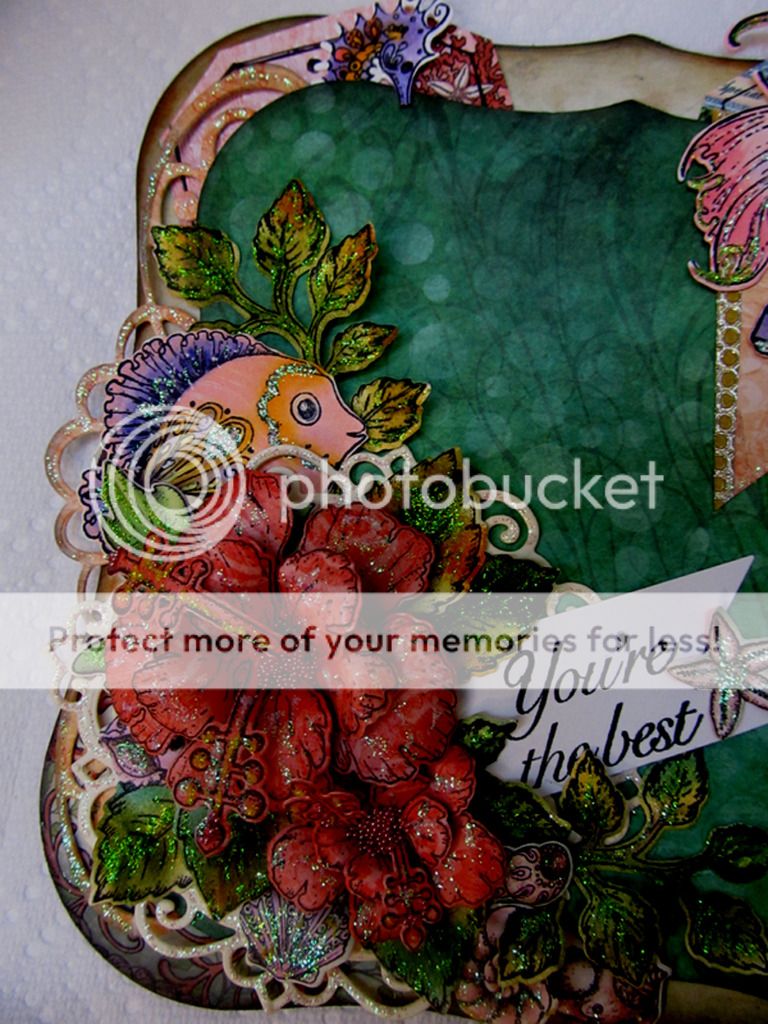 On the bottom left corner, adhere the Lattice doily and start to arrange your flowers, I used only 2 but I used lots of leafs. I also tucked one of the fish on the top portions of the flower arrangement. (Isn't he cute? He too is looking around.)
Stamp your sentiment on a white piece of card stock and I cut the ends to look like a banner and nestled it among the flowers. On the upper right hand corner, using card stock and washi tape in coordinating colors, I cut 3 banner like pieces, adhere them to the card and place the other cute fish over it, facing down looking at the flowers. Adhered this to the card base, stickle "Everything" and you're done. Now go find someone special you can give this to!! Thanks for watching ... stay crafty!
On the bottom left corner, adhere the Lattice doily and start to arrange your flowers, I used only 2 but I used lots of leafs. I also tucked one of the fish on the top portions of the flower arrangement. (Isn't he cute? He too is looking around.)
Stamp your sentiment on a white piece of card stock and I cut the ends to look like a banner and nestled it among the flowers. On the upper right hand corner, using card stock and washi tape in coordinating colors, I cut 3 banner like pieces, adhere them to the card and place the other cute fish over it, facing down looking at the flowers. Adhered this to the card base, stickle "Everything" and you're done. Now go find someone special you can give this to!! Thanks for watching ... stay crafty!