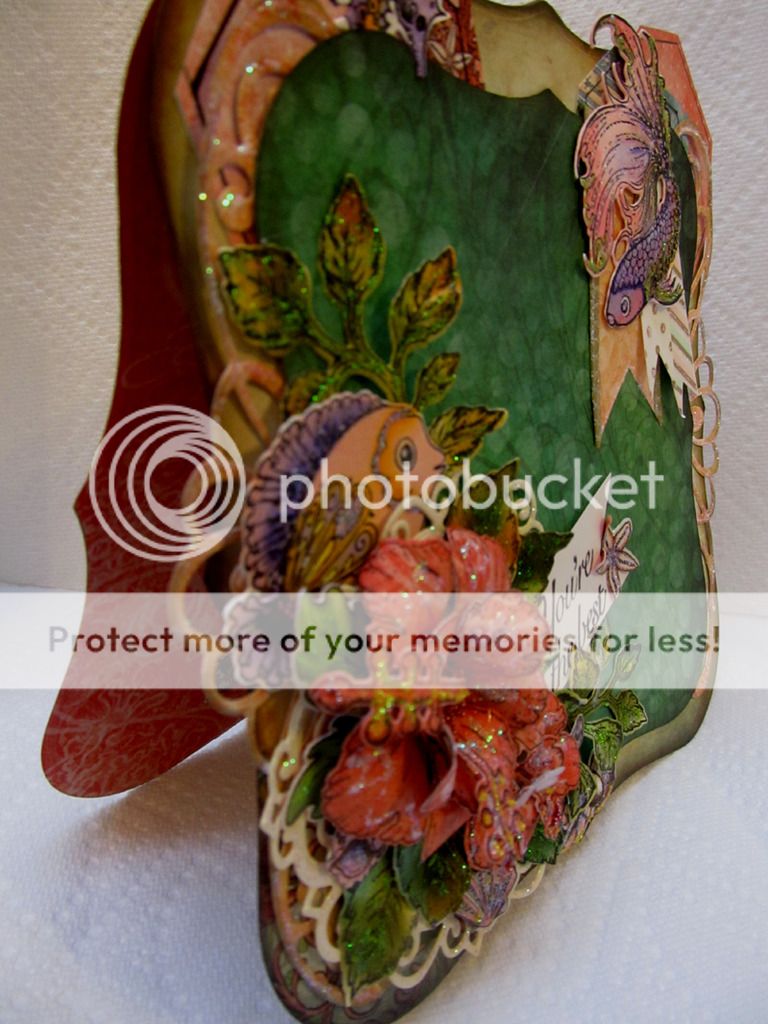
but now... take a looksie' at my card...
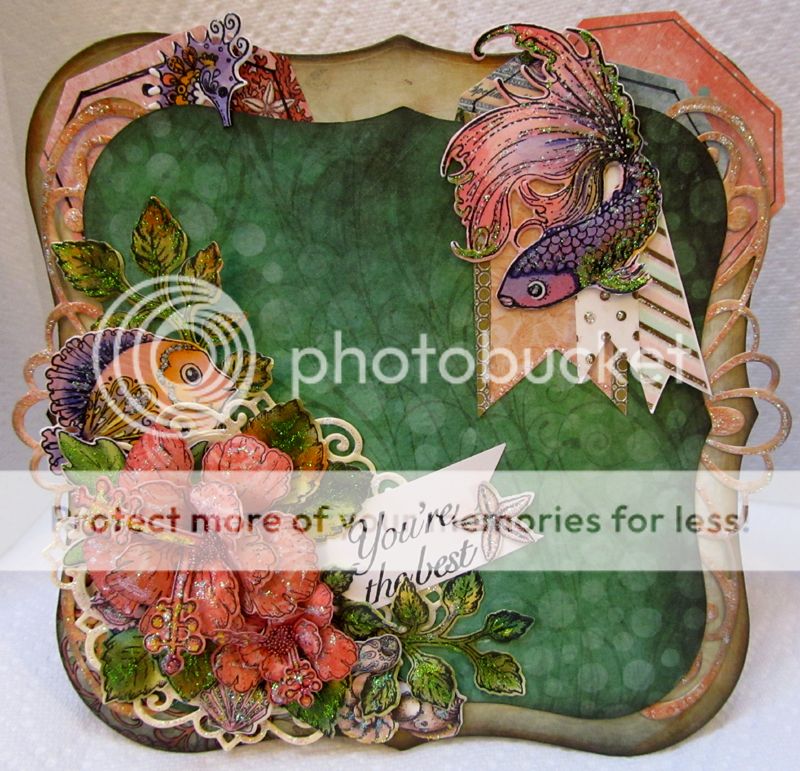
PRODUCTS USED: Open Leaf Cling Stamp HCPC-3545 Classic Leaf Die HCD1-736 Classic Leaf Cling Stamp HCPC-3546 Tropical Hibiscus Cling Stamp HCPC-3736 Tropical Hibiscus Die HCD1-796 Heartfelt Wishes HCPC-3740 "You're The Best" Regal Borders & Pockets HCDA-779 Grand Nestabilities LF-161 GRAND LABELS 1 Under the Sea Cling Stamp HCPC-3739 Under the Sea Coral Die HCD1-797 Under the Sea Die HCD1 -799 RainDrops on Roses Die HCD1-743 Under the Sea Paer Collection Other products used" Stickles, washi tape, Tim Holtz distressed inks in Spun Sugar, Forest Moss, Victorian Velvet, Scattered Straw, Kraft paper, white card stock This card is a big one measuring 6-3/4" x 6-3/4". Start by creating the card base, cut 2 pieces of Kraft paper with the 6-3/4" Nestabillities die. To attach them, score at half an inch from the top and fold back just a little bit, you just want it to be able to have some flexibility. Add a little glue up to the score line and attach the two pieces together. This will creates your card base. Set it aside. Using the same 6-3/4" die again, I cut on piece from Kraft paper and one from the Under the Sea paper collection. (Chose a color you like, they are all beautiful!) Next use the 5-3/4" Nestabillities die and cut one from Kraft paper and one from the coordinating designer paper. (The reason for the Kraft paper is to give the card a heftier feeling, since this will be a big card.) Now stamp, color and die cut the Hibiscus flowers, two of the fish, one seahorse, set of seashells, two of the beautiful boarders from the Regal Border dies and one Lattice doily. Put the flowers together and add a cute center. (For my flowers, I cut them from the designer paper, so I didn't have to color them in, it's an option.)I also cut 3 of the tag images from the paper collection. Time to assemble your parts. Cover the Kraft paper with its corresponding designing paper and then center the smaller piece onto the card. Tuck the two pretty boarders on either side of the card as seen in the picture. On the top part of the card, tuck in the 3 tags, stagger them so you can see each little tag peeping through. On the left upper hand side, over one of the tags, tuck in the little seahorse. So he looks like he's come out to see what is going on.On the bottom left corner, adhere the Lattice doily and start to arrange your flowers, I used only 2 but I used lots of leafs. I also tucked one of the fish on the top portions of the flower arrangement. (Isn't he cute? He too is looking around.) Stamp your sentiment on a white piece of card stock and I cut the ends to look like a banner and nestled it among the flowers. On the upper right hand corner, using card stock and washi tape in coordinating colors, I cut 3 banner like pieces, adhere them to the card and place the other cute fish over it, facing down looking at the flowers. Adhered this to the card base, stickle "Everything" and you're done. Now go find someone special you can give this to!! Thanks for watching ... stay crafty!

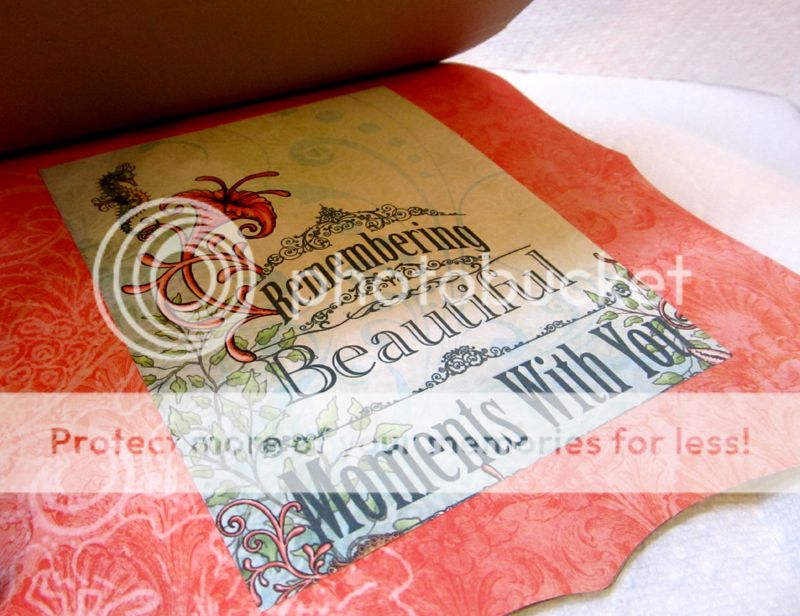
The inside of the card....
Thank you much for stopping by... hope you enjoy your crafty time...
and as always...

lovely layers and love all the details
ReplyDelete