Hello everyone... thank you all so much for visiting and leaving me such awesome comments. I truly appreciate them ALL!!!
This month, Heartfelt came up with the most beautiful papers and designs... I used the Gate fence stamp and the mini poinsettias, they are so cute!!! I hope you enjoy and become inspired to maybe make your own Christmas cards this year...
Look at those cute mini poinsettias! they are so adorable and so easy to make... stamp, color cut you're done!
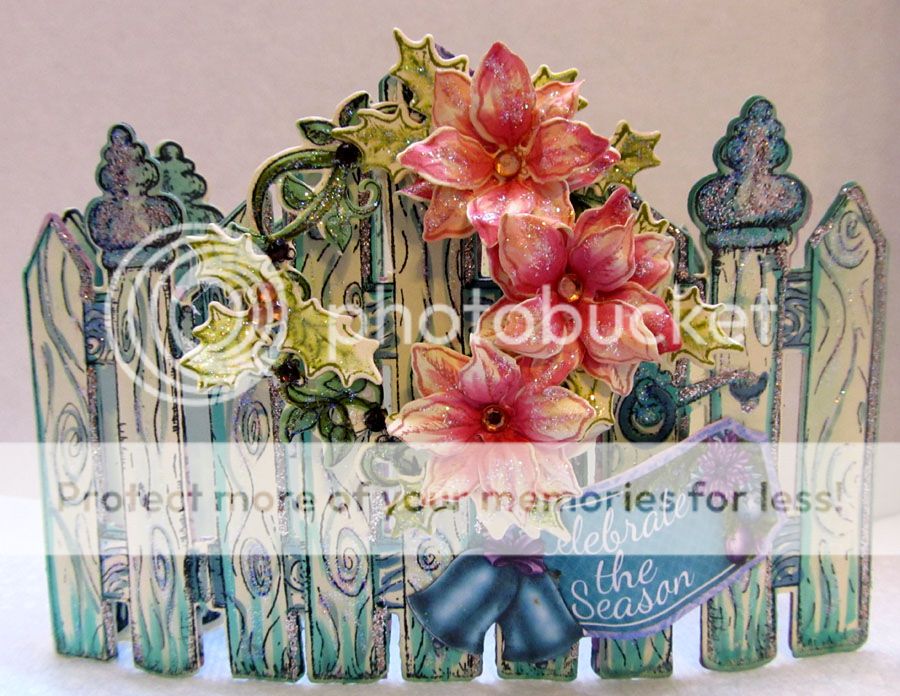
Here is what I used and how I made it...
Products used:

HCPC - 3746 CLING STAMP FESTIVE GATE
HCD1 - 7105 DIE FESTIVE GATE
HCPC - 3747 CLING STAMP CELEBRATE THE SEASON
HCD1 - 7106 DIE CELEBRATE THE SEASON
HCPC - 3748 CLING STMAP GIFT WRAPPED PRESENTS
Heartfelt designer paper "Celebrate the Seasons"

Other products used: Bling embellishment for the flowers, Copic Marketer in BG13 Mint Green, N2 Natural Grey #2, N4 Natural Grey #4, (For the Fence)
RV 00 Water Lily, E04 Lipstick Natural (for the Mini Poinsettias, they were stamped with Tim Holtz Distressing Ink "Victorian Velvet")
The Mini poinsettia leaves were stamped in (Tim Holtz Peeled Paint)  Stickles Tiara and Star Dust. Cream Card stock. Tim Holtz distress ink in Evergreen Bough to shade.

First I die cut 4 set of the Festive Gates, just on plain cream card stock. adhere 2 of them together, now you have 2 thicker gates.
These will make the card base, so you will have to cut a 1" x 2 3/4" front he cream card stock and fold it in half. This makes the hinge for you to make the card base. Adhere the gates to this hinge, now you have a card base... yay!

Now stamp 2 more gates and color them using the Copic markers colors mentioned above, or colors of your choice.   Die cut these gates and also die cute one more gate without stamping it from the designer paper.

Adhere one of the colored and stamped gates to the front of the card, one to the inside of the card and the one cut from just the designer paper, adhere it the back of the front side of the card.
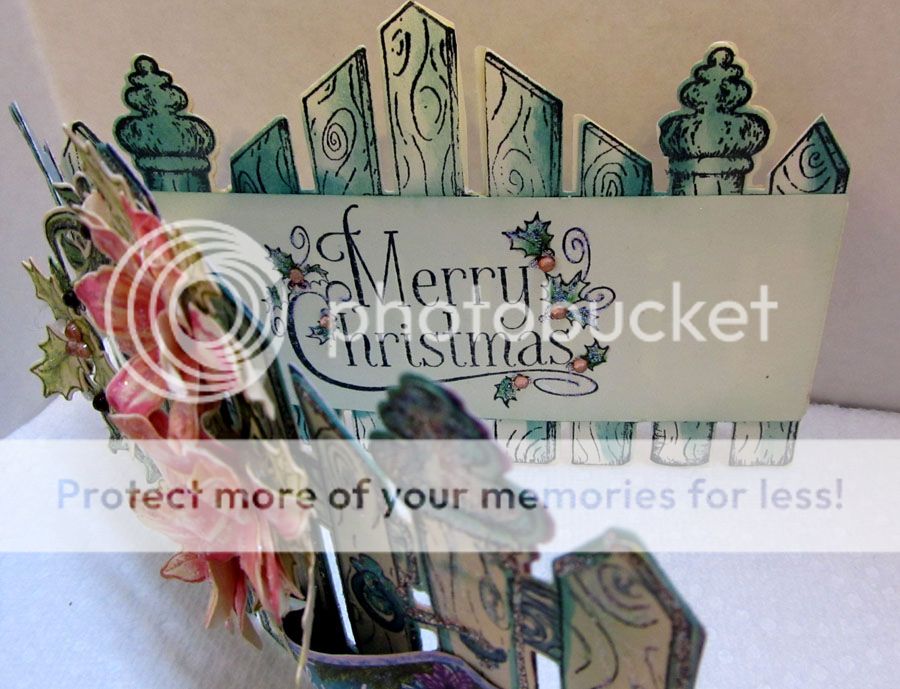
Cut a piece of 5 3/4" x 2" and
stamp a sentiment from the collection.  I used "Merry Christmas". Used some Tim Holtz distress ink in Evergreen Bough to do a little shading around this piece. Color in the leafs , stickle them and add some bling. Set this aside and let the stickels dry.
Stamp, color and die cut the wreath, mini Poinsettias and leaves. Put your flowers together and adhere them over the wreath, tucking in leafs here and there to make the wreath look full. I added some pink bling to embellish.
From the designer paper, I fussy
cut a ticket that read, "Celebrate the Season" and some of the cute bells from one of the other pre-printed images.
On the inside of the card, adhere the Merry Christmas sentiment, it should be dry by now...
For the cover of the card, I attached the Wreath and beneath it the ticket and bells.
Stickled the flowers and the gate and ... done.
enjoy!!
THANK YOU fro stopping by... have fun crafting and as always...

Absolutely Gorgeous!!
ReplyDeleteLove the use of the gate stamp and die...love your flowers...inky hugs
ReplyDeleteLovely card!
ReplyDeleteHugs, Marie