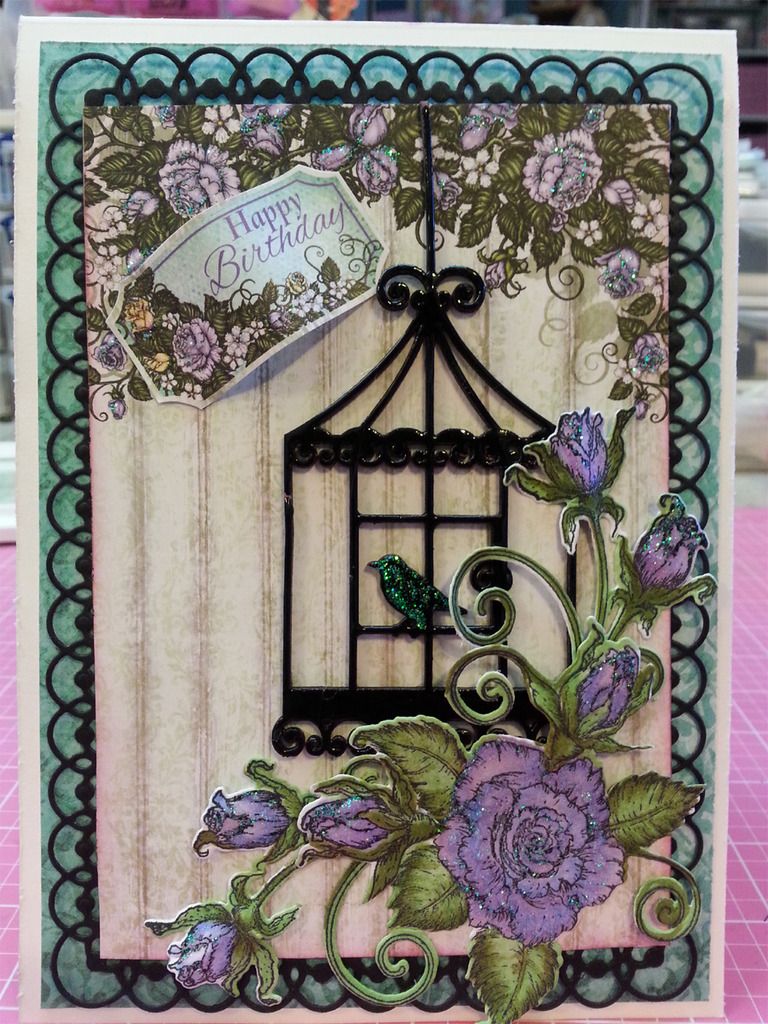
Good morning! It's Wednesday ...yay!! Half the week is gone and we have a new Release!!! I am just thrilled with last months and this months stamps and die. Roses!!! Plus I got to work with some chipboard, compliments of "Creative Embellishments". The bird house I think added a different touch to my card...this is a big card measuring 5 x 7, but here take a peak and tell me what you think...
supplies and instructions below...
supplies and instructions below...
PRODUCTS USED:
HCPC-3756 Blushing Rose Swirls Cling Stamp
HCD1-7114 Blushing Rose Swirls Dies
Blushing Rose designer paper collection
other products used: Creative Embellishments chipboard bird cage, Versa mark embossing ink pad, black embossing powder, Stickles, Spellbinders 5 x 7 Detailed Scallops 4, Versa Mark embossing ink, heat gun, Blick Studio in colors Lilac and Light Periwinkle for the flowers and Olive and Green Tomato for leaves. White and black card stock.
 Make a 7 x 5 card base from white card stock.
From the designer paper [solid color] cut a 6.75 x 4.75 panel and layer onto card base.
Now die cut using the Spellbinders die using the biggest of the dies from the black card stock. Layer this onto the card base, then from the designer paper, cut one of the 6 x 4 pre-printed panels and layer this onto the base.
Today I used a bird cage from Creative Embellishment. I stamped it with a Versa mark ink pad and embossed it with black embossing powder.
Adhere it with wet glue to the front of the card.
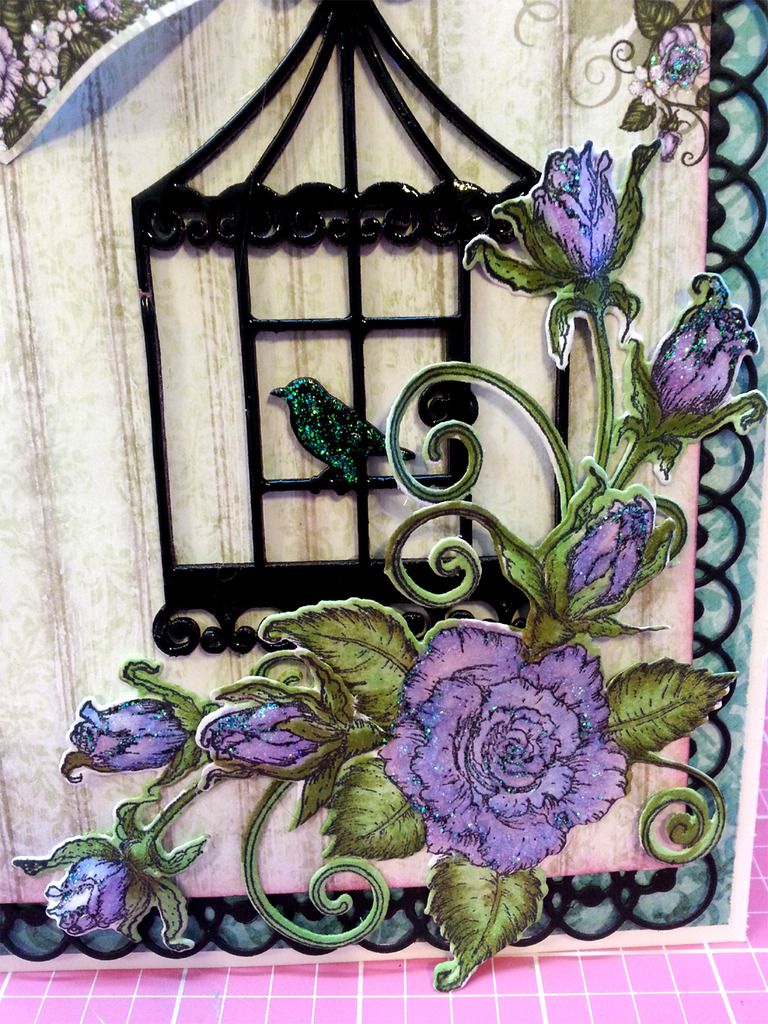
Stamp, color and die cut some of the roses from the Blushing rose swirls. I stamped two images and then cut one of them apart. I used the rose buds to make the one stamped image look bigger and cover the corner.
I arranged this around the bottom portion of the bird cage.
Stamp, color and die cut some of the roses from the Blushing rose swirls. I stamped two images and then cut one of them apart. I used the rose buds to make the one stamped image look bigger and cover the corner.
I arranged this around the bottom portion of the bird cage.
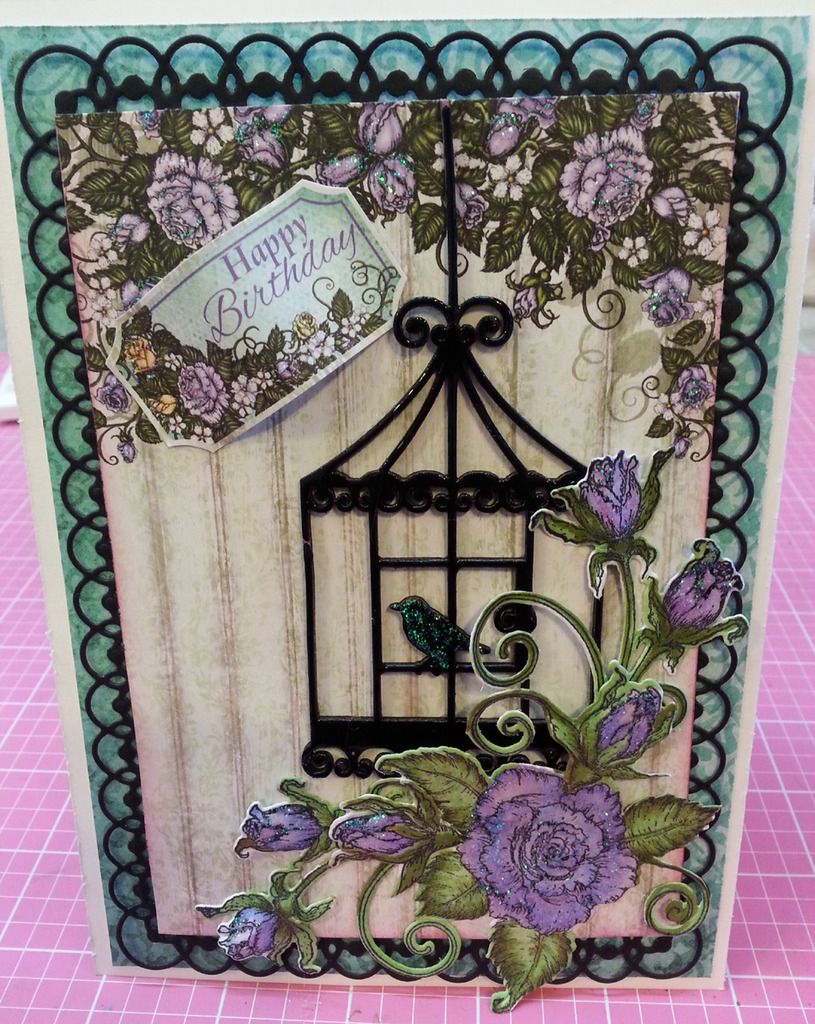
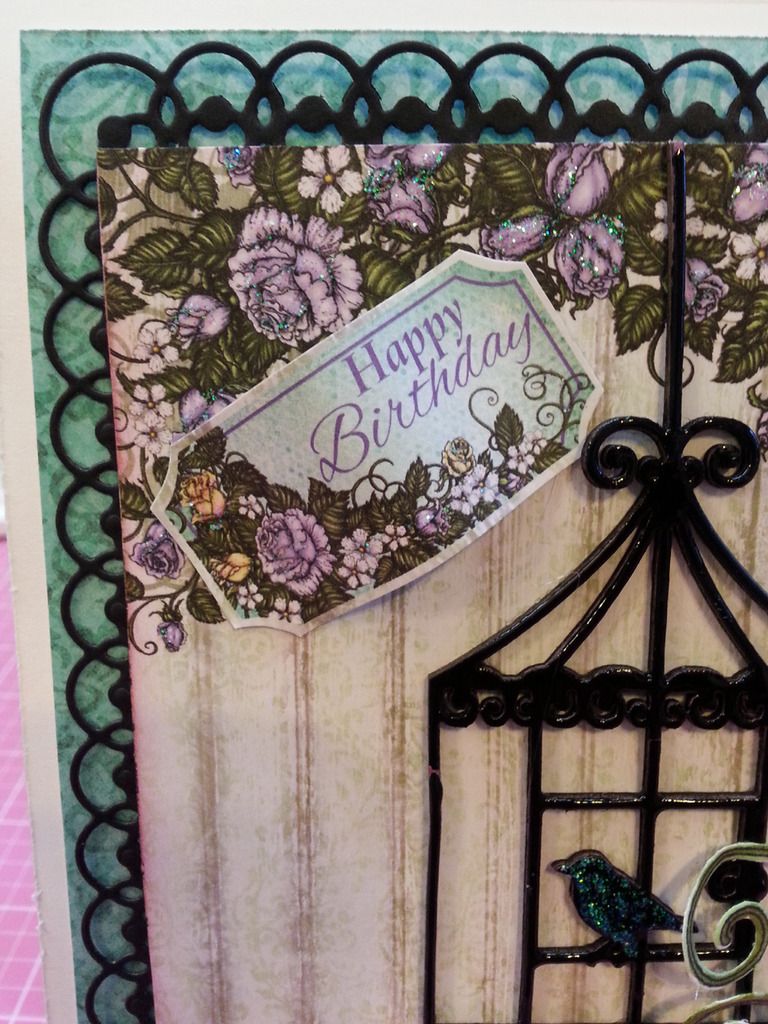
Cut one of the Happy Birthday tickets from the designer paper and add it to the upper left hand corner.
Stickle everything you want shinny and you're done.
I hope you enjoy your day today and that you are inspired to create...
visit
HeartFelt Creations
for lots and lots more inspiration and to get your supplies.
Thank you so much for visiting and as always...

I hope you enjoy your day today and that you are inspired to create...
visit
HeartFelt Creations
for lots and lots more inspiration and to get your supplies.
Thank you so much for visiting and as always...
This is beautiful! I love everything about it!
ReplyDeleteVery pretty, Elsa.
ReplyDeleteMarie
So cute with the bird cage...great card
ReplyDelete