Stamping is new to me, only a few years ago I started to get deep into it. By that I me an I've been buying and hoarding stamps, but have I truly used them? Nope... I have some still in their new package, so I have to admit that using the Heartfelt stamps and dies has been new experience. All the stamps are so easy to work with and having the coordinating dies makes each project easy to accomplish. This week, I worked with purple... a color I seldom use, but I think I might add it to my favorite's list. This is my card this week... I stamped and colored this rose with StampingUP! purple plumb... first time using them also. lol
HCD1-7111 Classic Rose Vine Die
HCPC-3753 Classic Rose Vine Cling Stamp
HCPC-3545 Open Leaf Cling Stamp
Designer paper. "Classic Rose Collection"
 Other products used: Spellbinders Nestabilities 4 - Floral Ovals, White card stock, Sheer white ribbon, Stickles, "Diamond Dust", Tim Holtz distress inks in "Peeled Paint", StampinUP! Perfect Plum Purple ink pad.
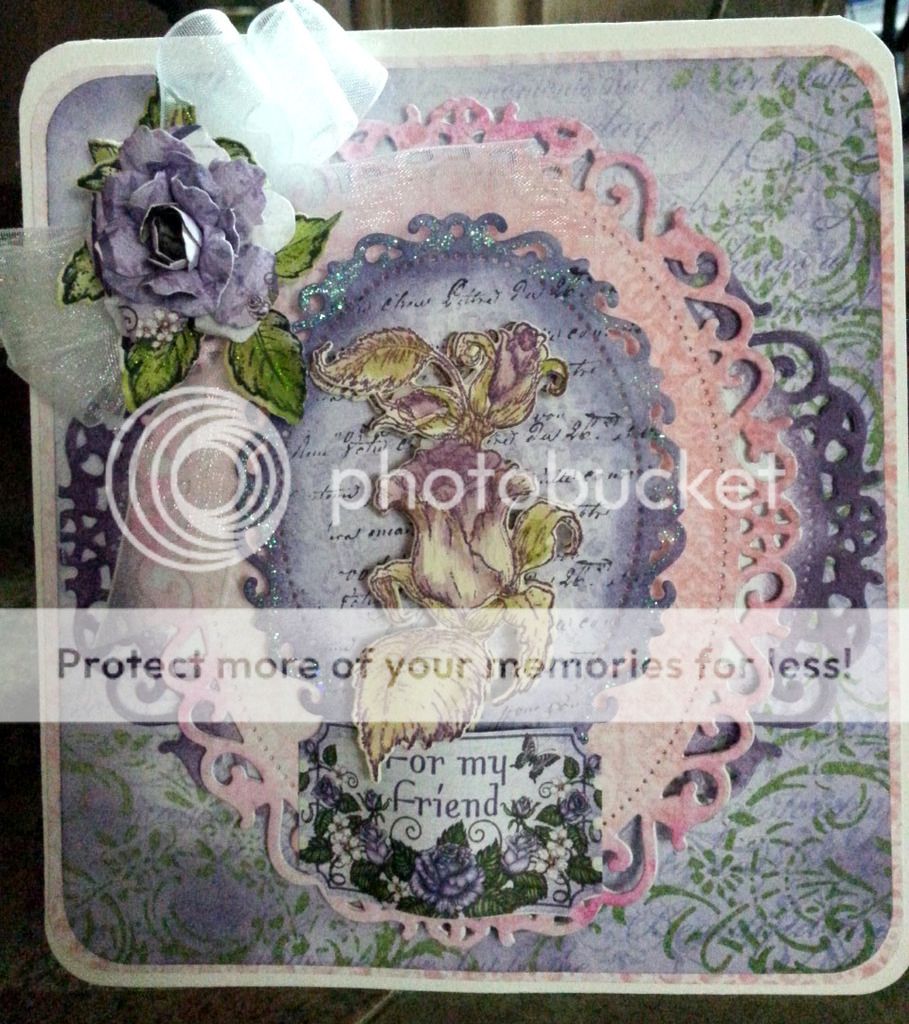
Start with a 5.75 x 6 card base.
From the designer paper cut a 5.50 x 5.75 and a 5.25 x 5.50 and layer them on the card base.
Using the spellbinders die cut 2 using the larger die one from the white card stock and one from the designer paper, I cut mine from a pink sheet of the designer paper.
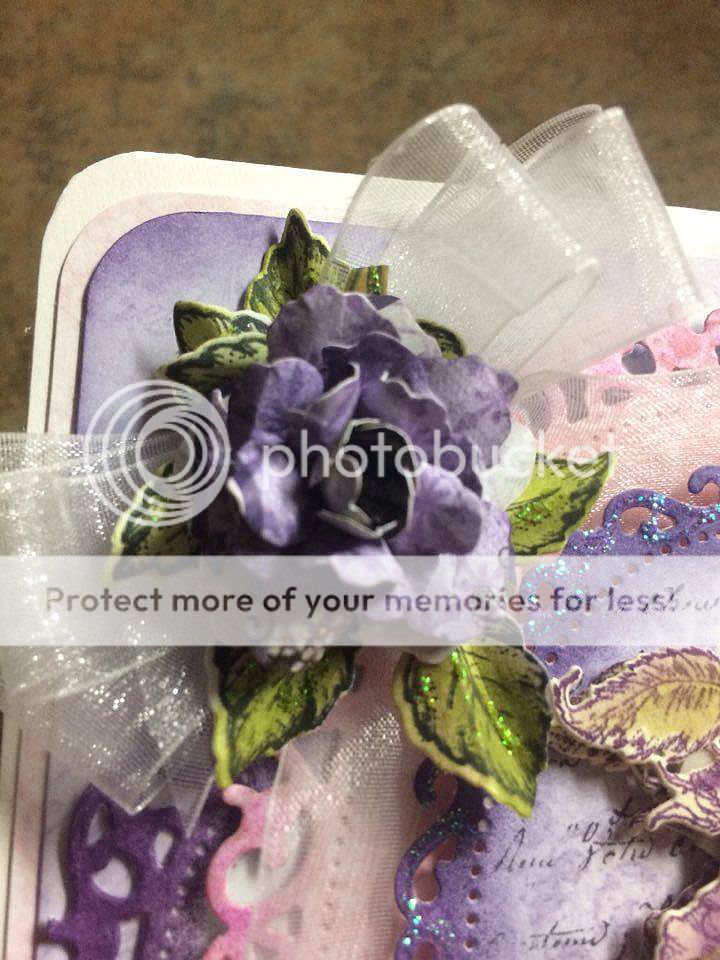
Die cut enough petals and leaves to make 1 flower. I used a piece of purple paper from the collection. Made one rose and centered it on the leaf. Added Stickles and set it aside to dray. The leaves I colored with the Tim Holtz Peeled Paint ink.
 Using the Plum Purple ink pad shade the outside of the Spellbinders die and adhere it turned horizontally on the card, then layer the second die cut piece vertically on the card.
On the upper left hand side of the card make a bow using the ribbon and glue the single rose and leaf you previously made, on the bow.
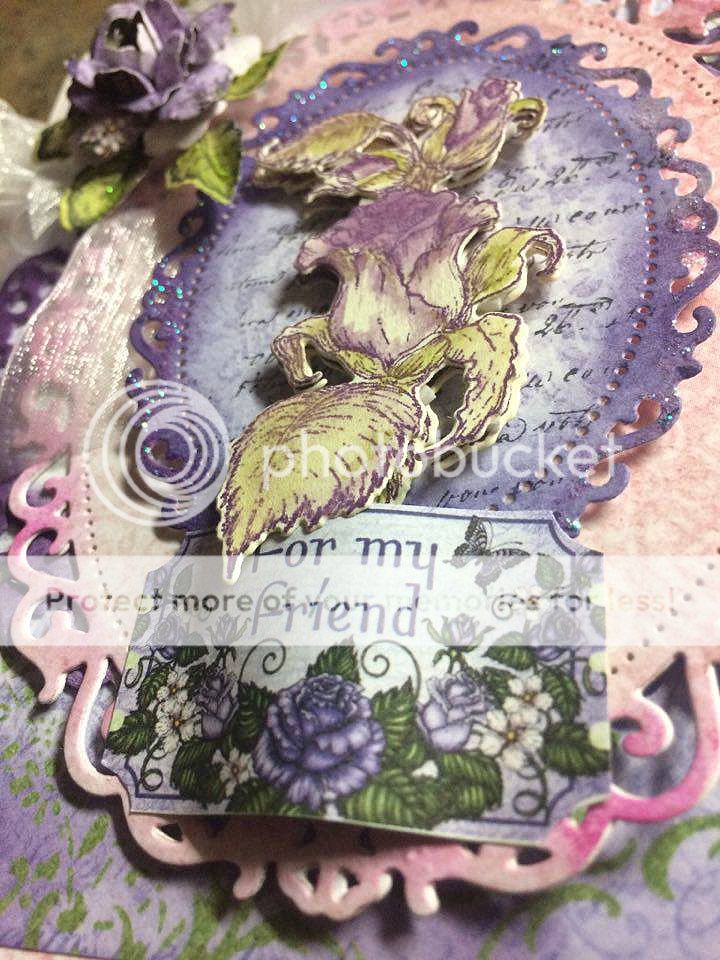
On a piece of white paper, stamp the single rose from the Classic Rose Vines Cling stamp and color it in with the inks mentioned above. Die cut this colored rose image and then stamp and die cut a second piece.
Now, using foam tape adhere one over the other and center it on the card using some more foam tape to give it even more dimension.
 Cut one of the pre-printed sentiments, I chose "for my firends," and glue it on the bottom of the rose.
Simple and quick... you're done.
Thanks so much for watching!!!

love the colours beautiful die work
ReplyDelete